
Each zone considers the task type, sitting style, movement, duration and the demands of the lab environment. Together, those factors show how much movement, support and adjustment the chair should provide.

From quick sits to long hauls, five zones match lab work with the right level of movement, support and adjustability.
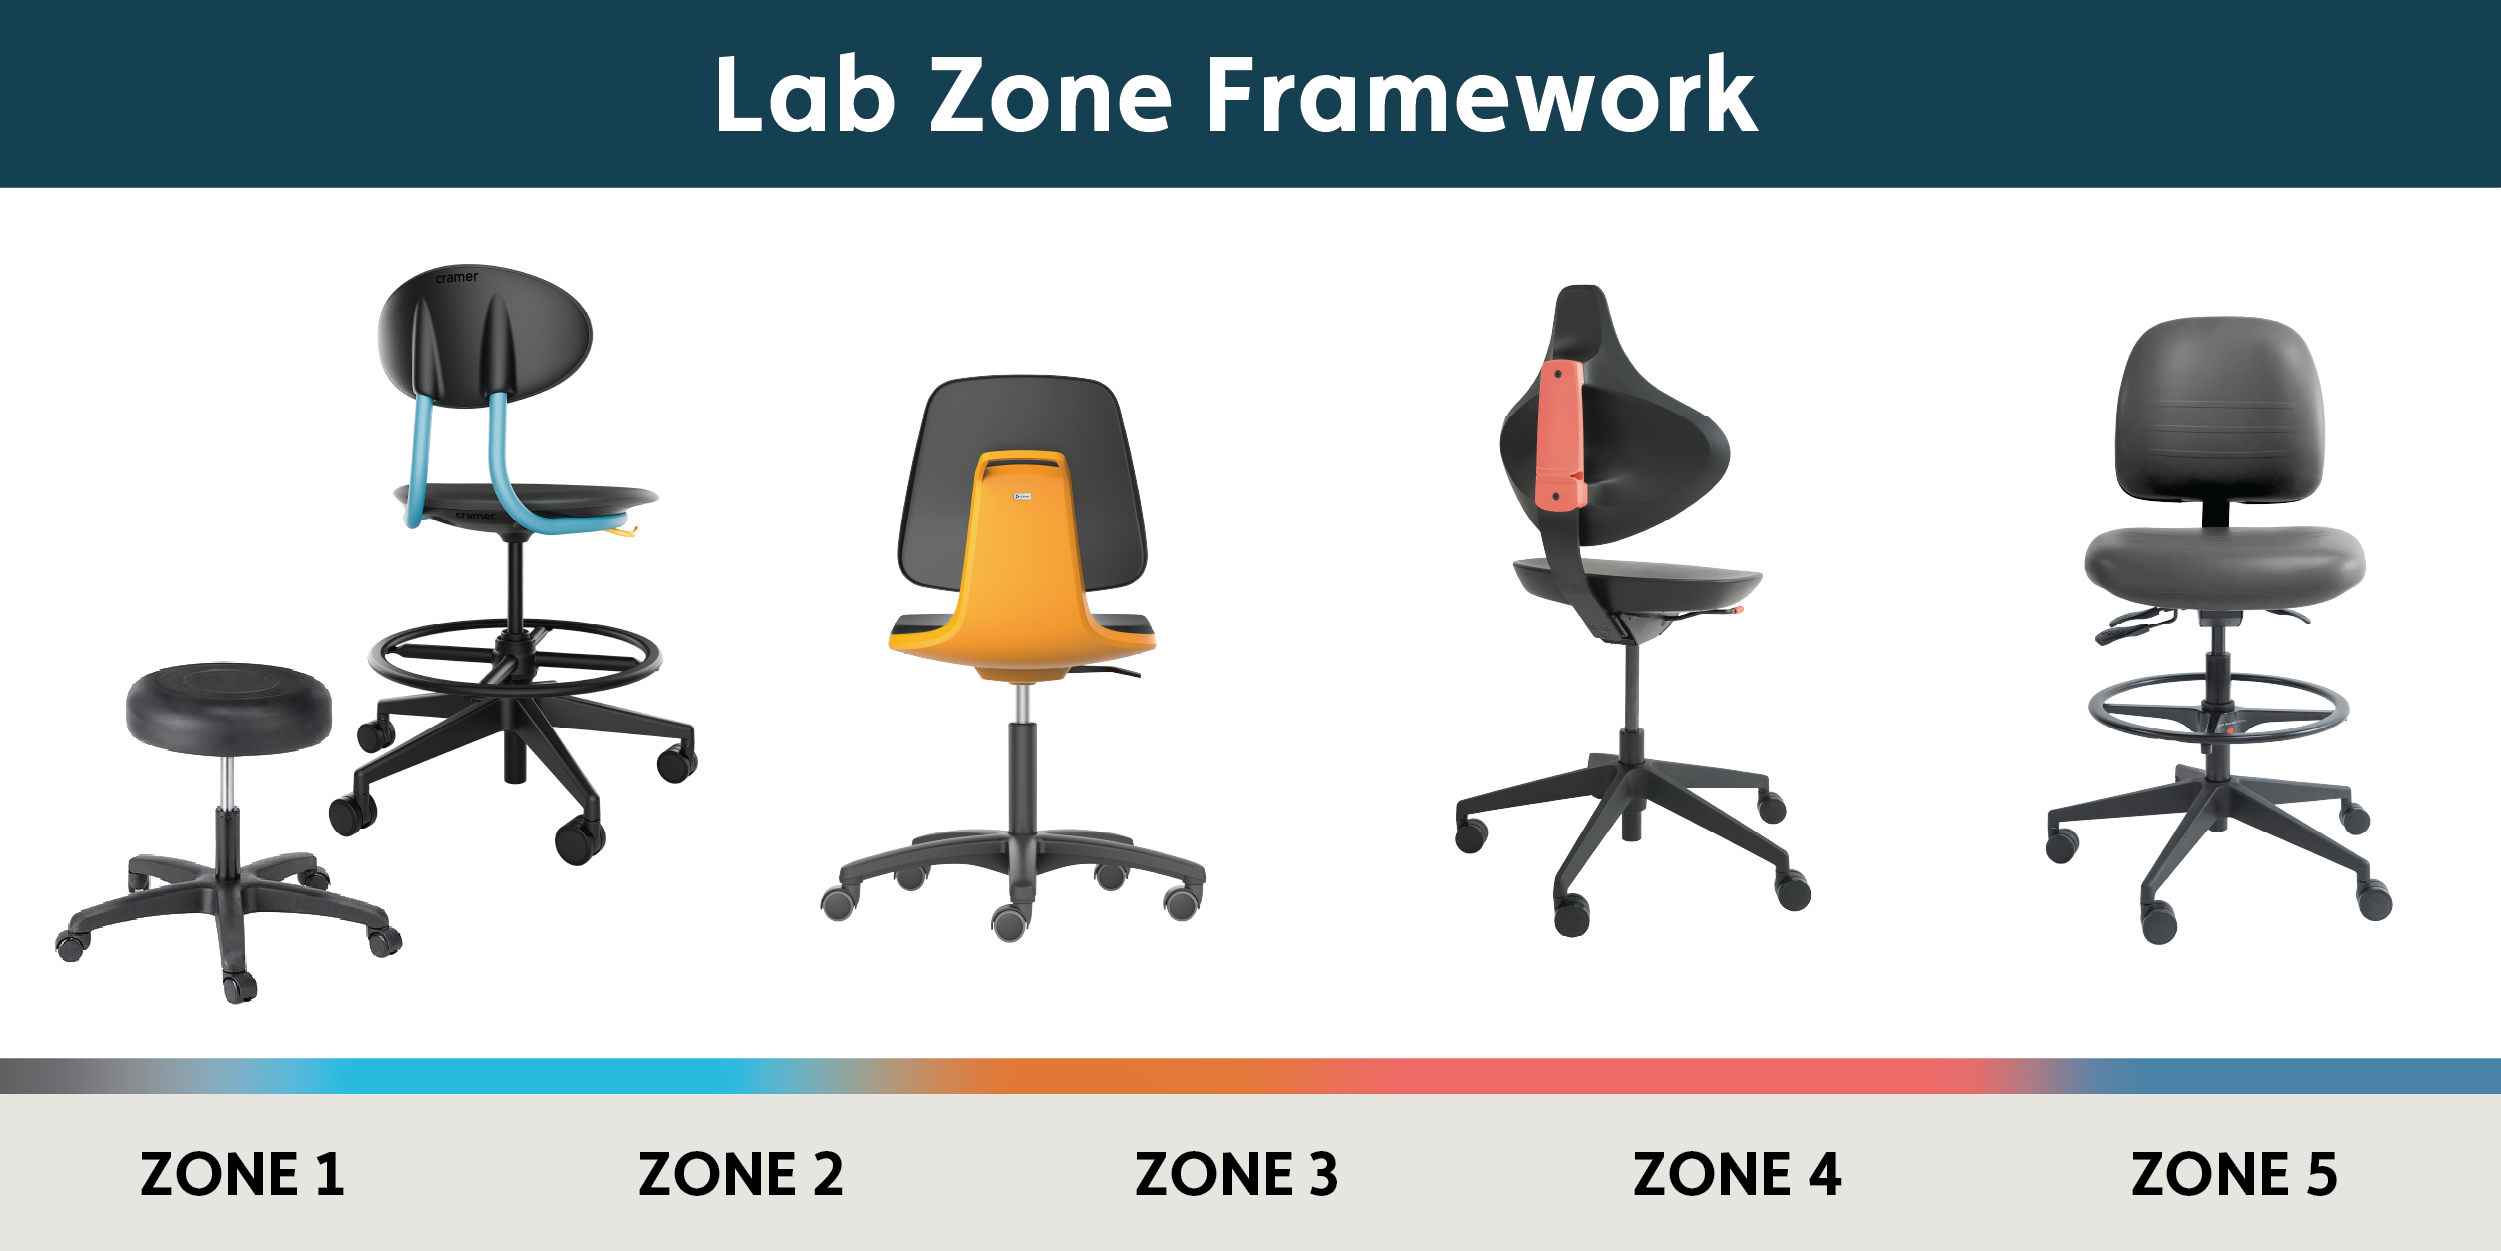
A lab may need seating for quick stops, multiple users, forward-leaning tasks and long stretches of focused work. The five-zone framework helps designers and administrators choose chairs that are easy to move, simple to adjust and comfortable for the task.
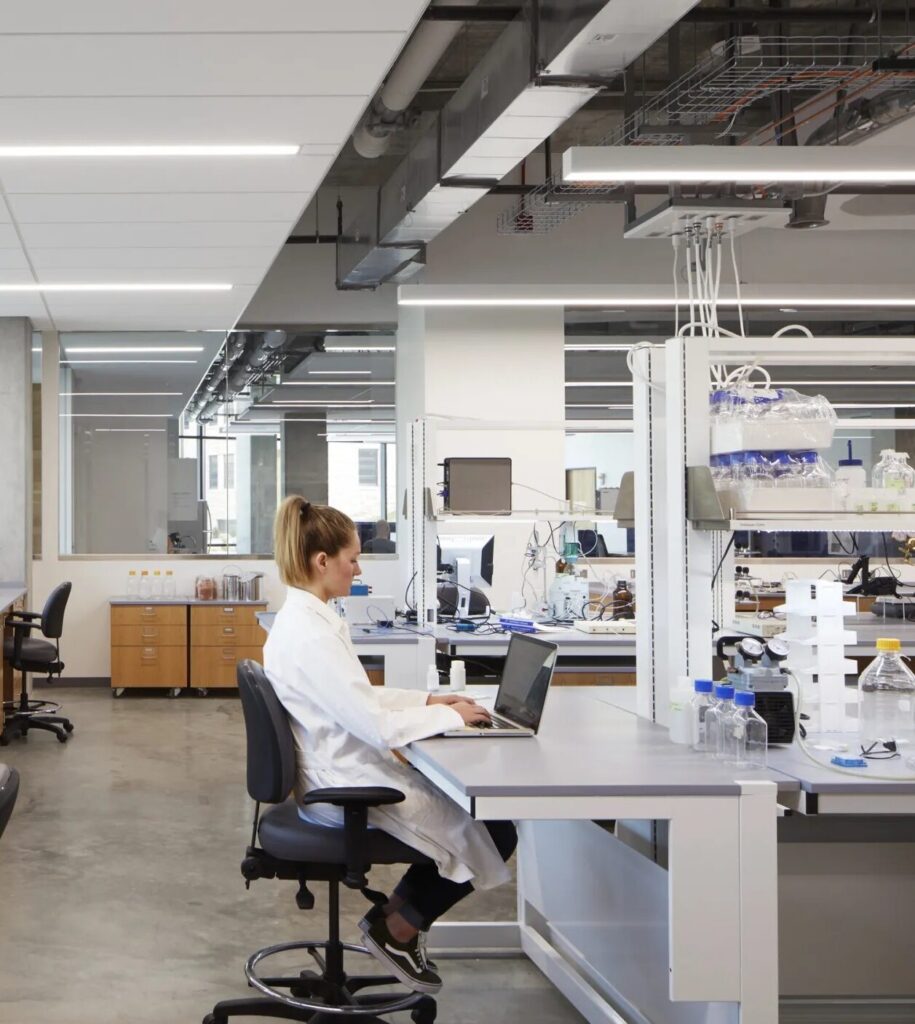
A lab chair that does not fit the task can slow people down, limit movement or provide the wrong level of support. It can also make a lab harder to clean, share and move through.
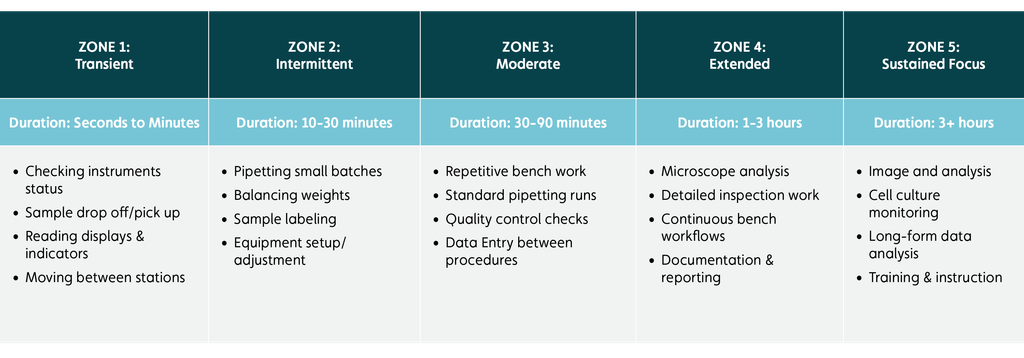
People sit for only a few minutes and often move between stations. Choose seating that moves easily, feels stable and is simple to use.
Common tasks:
Seating priority: Mobility and stability
Tasks last long enough for fit to matter, but the chair may still be shared by several users. Look for seating that is easy to adjust and supportive across short tasks and multiple users.
Common tasks:
Seating priority: Quick adjustment and support for shared use
Repetitive work keeps people seated longer. The chair should support different users, postures and movements as the work continues.
Common tasks:
Seating priority: Flexible fit and lasting support
The more focused the work, the more the chair has to do. Think added support, adjustability and a better fit for precision tasks.
Common tasks:
Seating priority: Ergonomic support and adjustability
Long periods of analysis and monitoring call for support that can be adjusted to the user, work surface and task.
Common tasks:
Seating priority: Adjustability and sustained comfort

Body copy: Each seating type covers a range of Lab Task Zones. Start with the work, then choose the chair that provides the right level of movement, support and adjustability.
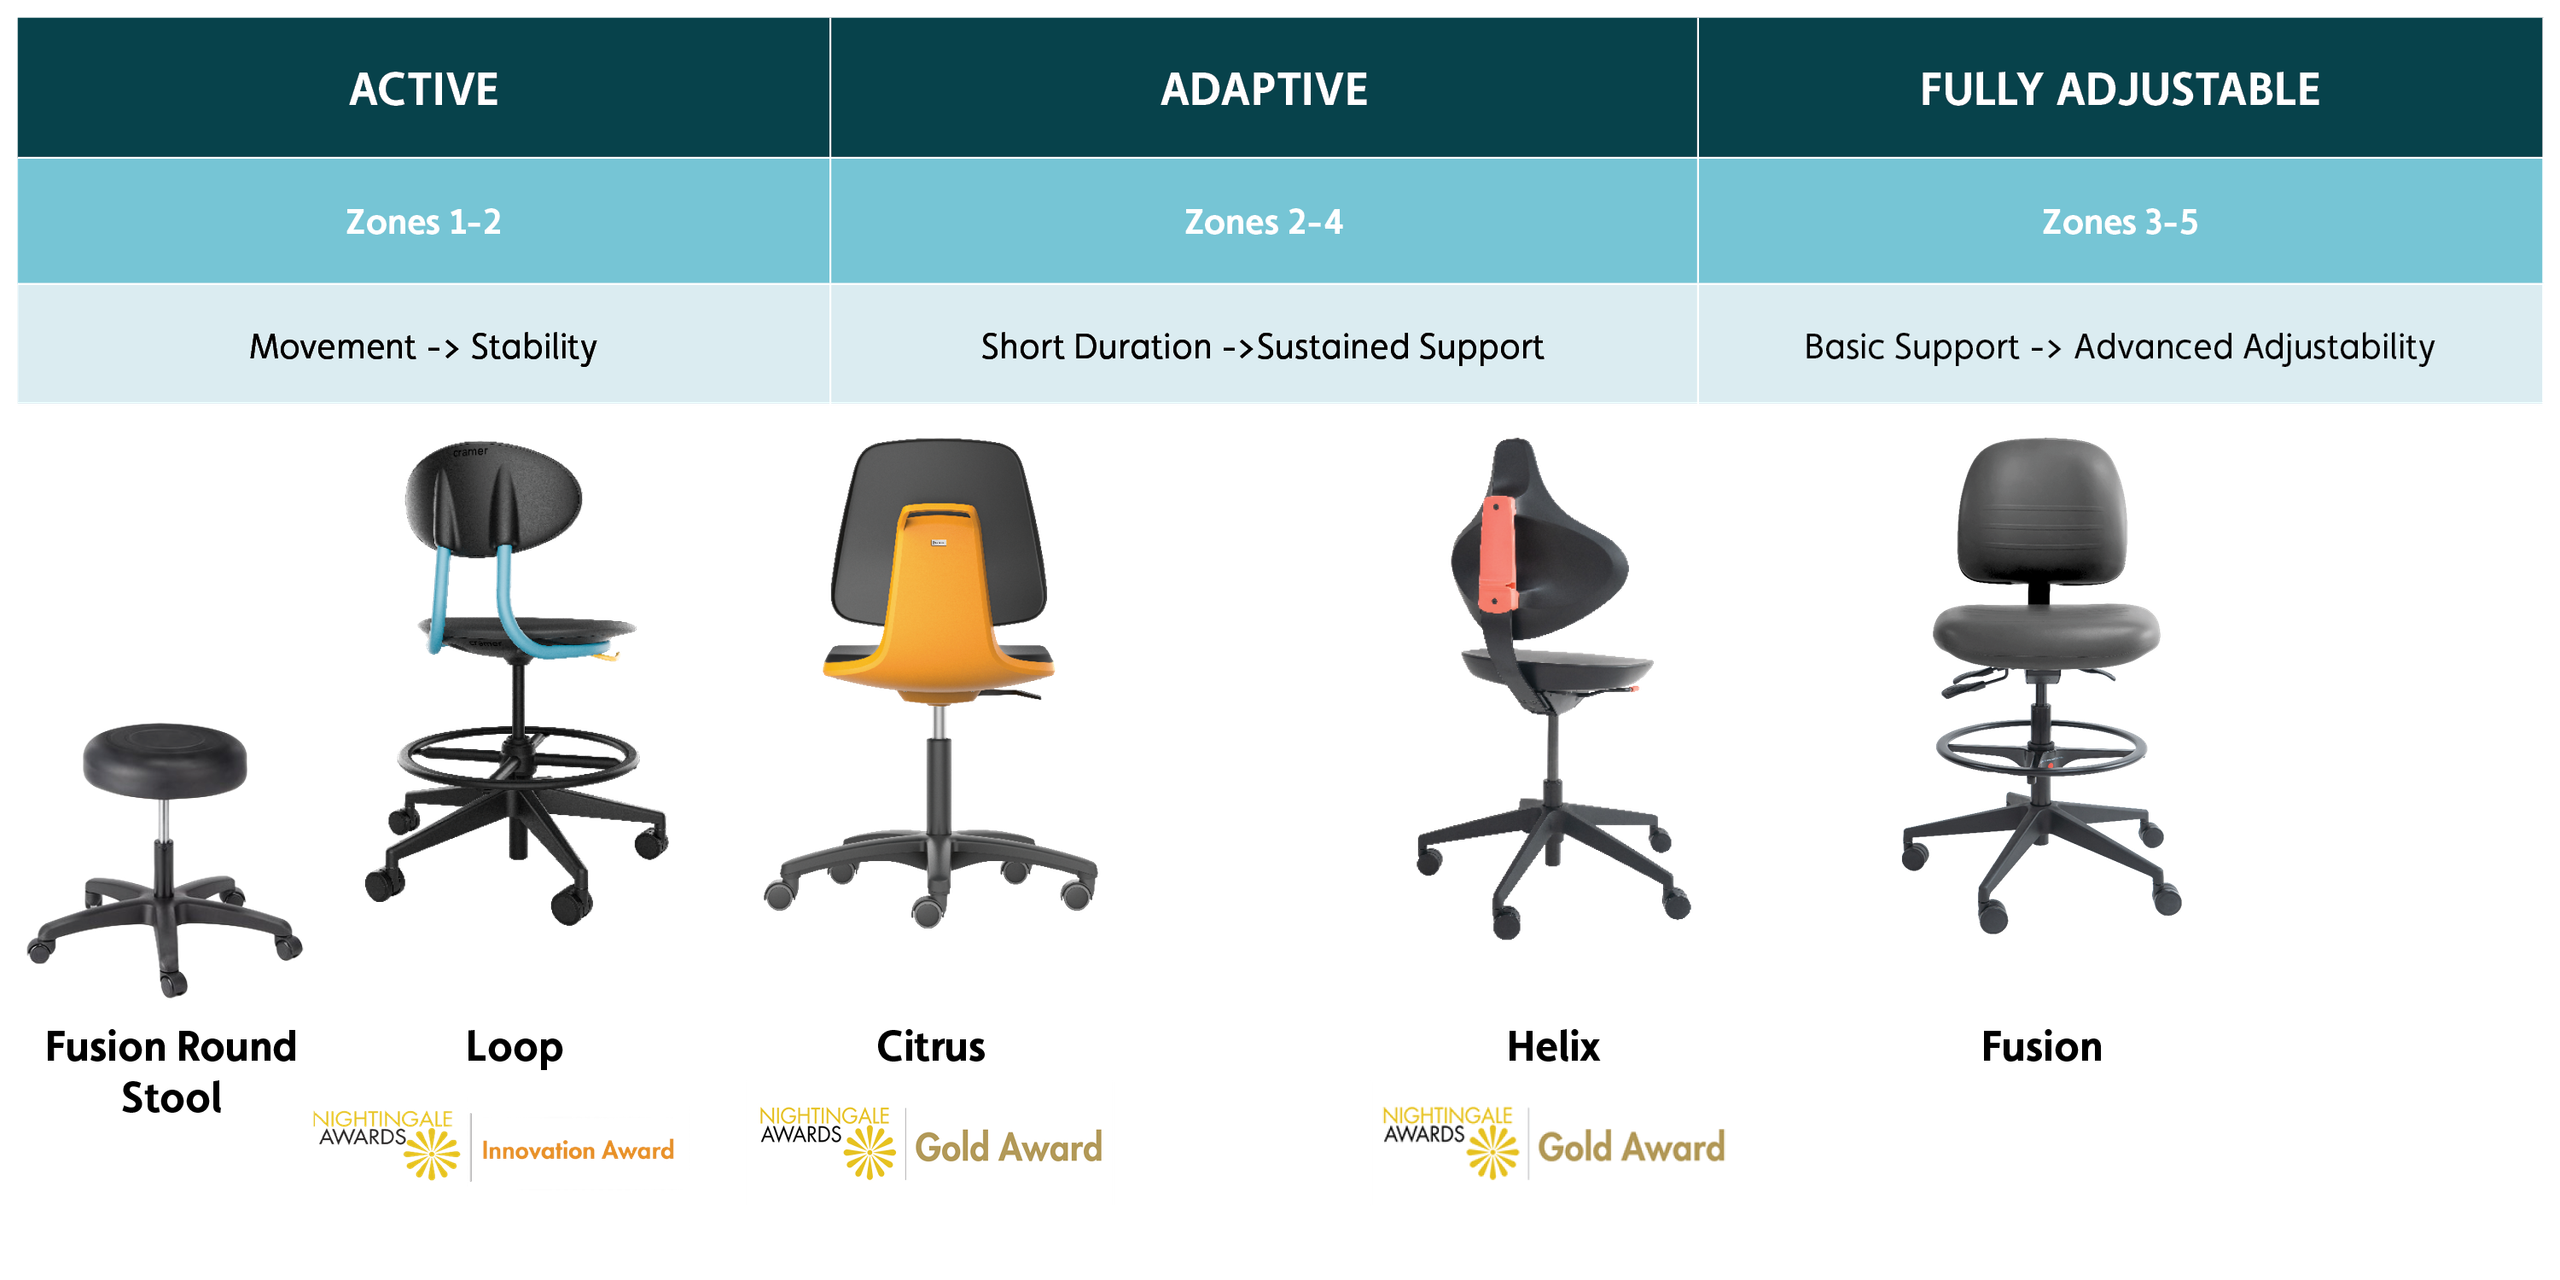
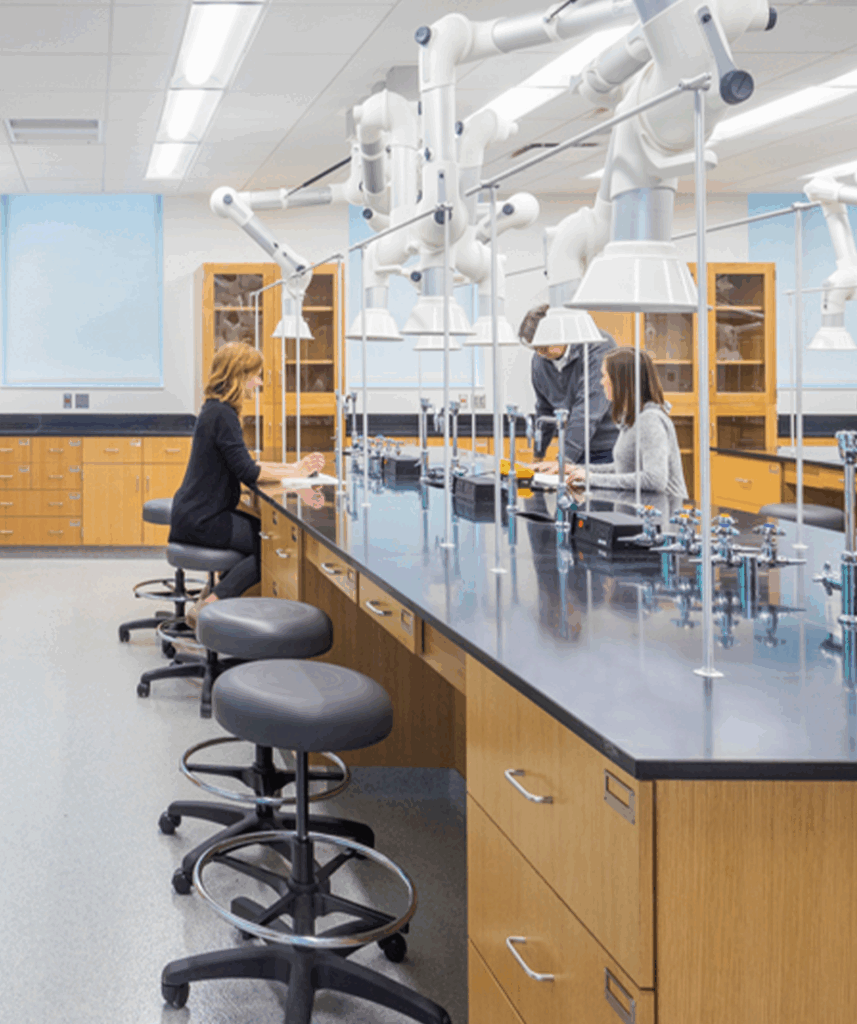
Best for Zones 1-2
Active seating supports movement without getting in the way. It works well for short tasks, frequent sit-to-stand transitions and shared stations where stability, easy access and cleanability matter most.
Best for Zones 2–4
Adaptive seating responds as posture and position change. It provides intuitive support for repetitive work, reaching and movement around equipment without requiring extensive setup.


Best for Zones 3–5
Focused seating provides support for sustained precision. Individualized adjustments help align the chair to the user, work surface and task.
Ask these questions before you take a seat.
These answers will point to the right Lab Task Zone and help narrow the seating options.
Each zone considers the task type, sitting style, movement, duration and the demands of the lab environment. Together, those factors show how much movement, support and adjustment the chair should provide.
Yes. The zones overlap because lab work does, too. Start with the tasks people do most, then choose a chair that covers their main needs.
A chair made for quick, transient tasks may not provide the sustained support needed for hours of focused work. On the other hand, a highly adjustable chair may add unnecessary complexity in a shared, transient space. Matching seating to the work provides the right level of support for each area.
No. Duration is one part of the framework. Sitting style, movement, task type, work-surface height, reach, shared use and environmental demands also shape the support requirements.
Start with the Lab Task Zone, then make sure the chair also meets the cleanroom, ESD, material and cleaning requirements of the space.
